Table of Contents
Have you ever found yourself skimming through a wall of paragraphs just to find the key point of a text? How amazing it could be if you had a web app that instantly extracts the most important keywords from any text with a single click of a button? Here we’ll build an efficient keyword extractor using OpenAI. We’ll make it simple, easy to use, and best of all—hands-on. Ready? Let’s dive in!

First, let’s discuss what we’re actually trying to build. Think of it as a highlight reel for long text. A keyword extractor is an app that scans the provided text and extracts the most important keyword from it. These are generally words that summarize the content or main ideas of a text.
Why do we use OpenAI’s model GPT-4? Well, these models are great in understanding the context of a text, making them an ideal choice to utilize for extracting the essential keywords. You will not be getting the high-frequency keywords like “is” or “the”, you’ll get the keywords that matter. Pretty cool, right?
We’re going to build a keyword extractor with the following features:
- Backend: We’ll be using Python and Flask to interact with OpenAI’s API.
- Frontend: We’ll use HTML to create a user-friendly interface where users can provide text and with a single click of a button it will extract the keywords.
Ready to jump in? Let’s get started!
Setting up the development environment
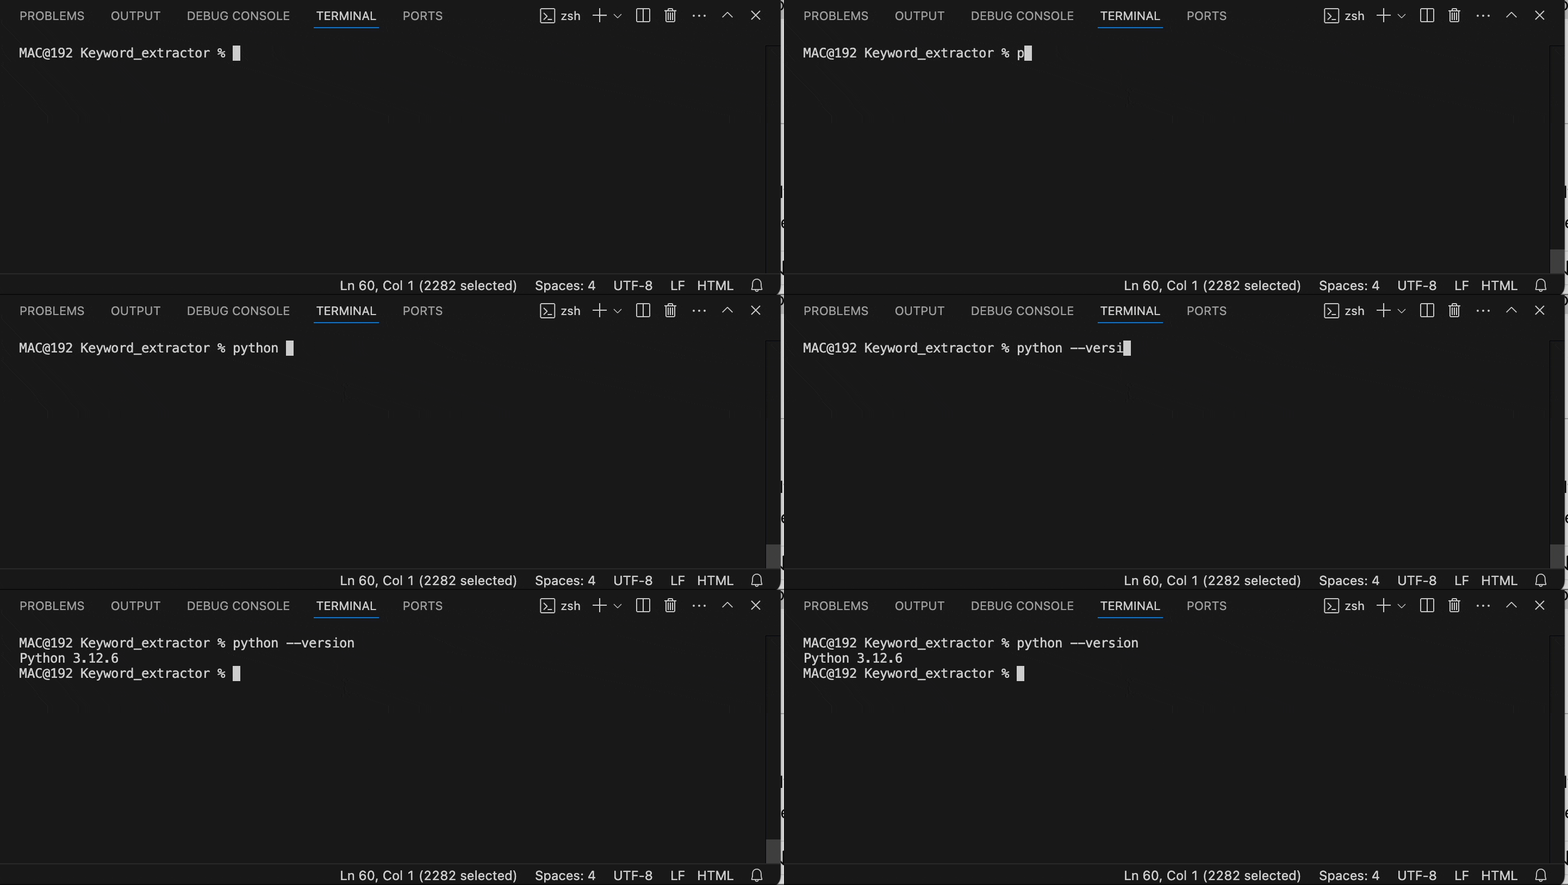
Before we dive into the code we need to ensure we have the right set of tools to build a keyword extractor. Firstly you need to ensure Python is installed on your system. Use the terminal to check if it is already installed by running the following command on your terminal.
python --version
If you see a version number just pops up, congrats, you’re good to go.

If it’s not installed, don’t panic, head over to python.org and download it on your system. I’ll wait. Got it? cool.
Now, let’s get few more things sorted, Ensure that you have access to the following items:
- Visual Studio or vs Code (Or any other text editor you’re comfortable with)
- Terminal or Command prompt
- Basic understanding of Python
Let’s get started by setting up our environment.
Create a project directory
Let’s first create our project directory to store all of our keyword extractor app files. Open the terminal and use the following commands to create and enter into a working directory:
mkdir Keyword_extractor
cd Keyword_extractor
Setup a virtual environment
Next, we’ll create a virtual environment to manage our project dependencies. Think of the virtual environment as a safe place for all the code we’re going to write. It is nice and isolated from the rest of your system. Run the following command to create a virtual environment.
python -m venv chatbot_env

# Activate the virtual environment

source chatbot_env/bin/activate  # For Mac/Linux users
chatbot_env\\Scripts\\activate   # For Windows users
Install Required Packages
Now let’s install Flask and OpenAI, the backbone of our system. We’ll need Flask for the web application and python-dotenv for loading the environment variables. Additionally, we’ll install the OpenAI client for using AI models and nltk library to work with human language data.
pip install Flask python-dotenv openai nltk
Flask will be our lightweight web framework to create the web interface, and OpenAI is, well, for the AI magic! Let’s set up the OpenAI’s API to power our system in the coming section.
Initialize the OpenAI API
Now let’s bring the brain of our system—The OpenAI API. To use OpenAI’s API, we’ll need to sign up over the OpenAl platform and create an account. After signing in, move towards the API keys section and generate a new key. Keep this key safe because it’s your golden ticket to access the GPT models.
If you face any difficulty during the signup and API key generation follow this guide to use OpenAI API to learn more about OpenAI API’s. We also need to ensure our API is not exposed throughout the creation process. Let’s keep it safe using .env file in the next section.
Create the .env file
To securely manage our OpenAI API key, we’ll create a .env file. In the project directory create a file using the following command:
#For Mac users
touch .env

# For windows users
echo. > touch.env  # Using command prompt
New-Item -Path touch.env -ItemType File # Using PowerShell
Open the .env file in text editor and add your API key as follows:
OPENAI_API_KEY=your_openai_api_key_here
Replace your_openai_api_key_here with your actual OpenAI API key. Now that you’ve set up the OpenAI’s API, it’s time to get to the fun part of setting the backend of our app. Let’s dive right in.
Create the backend script
It’s time to build the brain of our keyword extractor and get our hands dirty with the backend side of our keyword extractor. Imagine our keyword extractor is like a cook superhero such as keyword ninja and what’s a superhero without having its command center? This is where Flask comes in. Flask is like the headquarters where the actual magic happens. Flask is considered an invisible brain that coordinates all the missions, receives requests, and directs them to the right place. Let’s create a file named as app.py and use the following code to ensure our backend operations are completed:
import os
from flask import Flask, render_template, request
from dotenv import load_dotenv
import openai
import nltk
from nltk.tokenize import word_tokenize

# Load environment variables
load_dotenv()

# Initialize the Flask app
app = Flask(__name__)

# Set OpenAI API key
openai.api_key = os.getenv("OPENAI_API_KEY")

# Ensure NLTK punkt is downloaded
nltk.download('punkt')

# Function to preprocess the text
def preprocess_text(text):
    tokens = word_tokenize(text)
    return tokens

# Function to extract keywords using OpenAI API
def extract_keywords(text):
    response = openai.ChatCompletion.create(
        model="gpt-4",  # Use the chat model
        messages=[
            {"role": "user", "content": f"Extract keywords from the following text:\\n\\n{text}"}
        ]
    )
    keywords = response['choices'][0]['message']['content'].strip()
    return keywords

# Home route
@app.route('/', methods=['GET', 'POST'])
def home():
    extracted_keywords = None
    if request.method == 'POST':
        user_input = request.form['text']
        # Preprocess the text
        tokens = preprocess_text(user_input)
        # Extract keywords
        extracted_keywords = extract_keywords(user_input)
    return render_template('index.html', keywords=extracted_keywords)

if __name__ == "__main__":
    app.run(debug=True)
With that, we ensure the brain of our keyword extractor is working. It feels like you’re creating something special, isn’t it?👨💻
Now let’s make it look pretty! Well, maybe not the prettiest front end in the world, but it’ll do the job.
Creating the frontend
We have sorted the brain of our keyword extractor, it’s time to build an interface where users can actually interact with our chatbot. To build a frontend let’s create a folder named as templates and create a file index.html inside the templates folder. Use the following commands to achieve it:
mkdir templates
touch templates/index.html
Open the index.html in a text editor and paste the following code in it:
<!DOCTYPE html>
<html lang="en">
<head>
    <meta charset="UTF-8">
    <meta name="viewport" content="width=device-width, initial-scale=1.0">
    <title>Keyword Extractor Using Open AI</title>
    <style>
        body {
            display: flex;
            justify-content: center; /* Center horizontally */
            align-items: center; /* Center vertically */
            height: 100vh; /* Full viewport height */
            margin: 0; /* Remove default margin */
            background-color: #f4f4f4; /* Light background color */
            font-family: Arial, sans-serif; /* Font style */
        }
        .container {
            text-align: center; /* Center text */
            background: white; /* White background for form */
            padding: 20px; /* Padding around form */
            border-radius: 8px; /* Rounded corners */
            box-shadow: 0 4px 10px rgba(0, 0, 0, 0.1); /* Subtle shadow */
        }
        textarea {
            width: 100%; /* Full width of container */
            max-width: 500px; /* Max width */
            margin: 10px 0; /* Margin above and below */
            padding: 10px; /* Inner padding */
            border: 1px solid #ccc; /* Border style */
            border-radius: 4px; /* Rounded corners */
        }
        input[type="submit"] {
            padding: 10px 20px; /* Padding around button */
            background-color: #007bff; /* Button background color */
            color: white; /* Button text color */
            border: none; /* No border */
            border-radius: 4px; /* Rounded corners */
            cursor: pointer; /* Pointer on hover */
            transition: background-color 0.3s; /* Transition effect */
        }
        input[type="submit"]:hover {
            background-color: #0056b3; /* Darker blue on hover */
        }
    </style>
</head>
<body>
    <div class="container">
        <h1>Keyword Extractor using AI</h1>
        <form method="POST">
            <textarea name="text" rows="10" placeholder="Enter your text here..."></textarea><br>
            <input type="submit" value="Extract Keywords">
        </form>
        {% if keywords %}
            <h2>Extracted Keywords:</h2>
            <p>{{ keywords }}</p>
        {% endif %}
    </div>
</body>
</html>
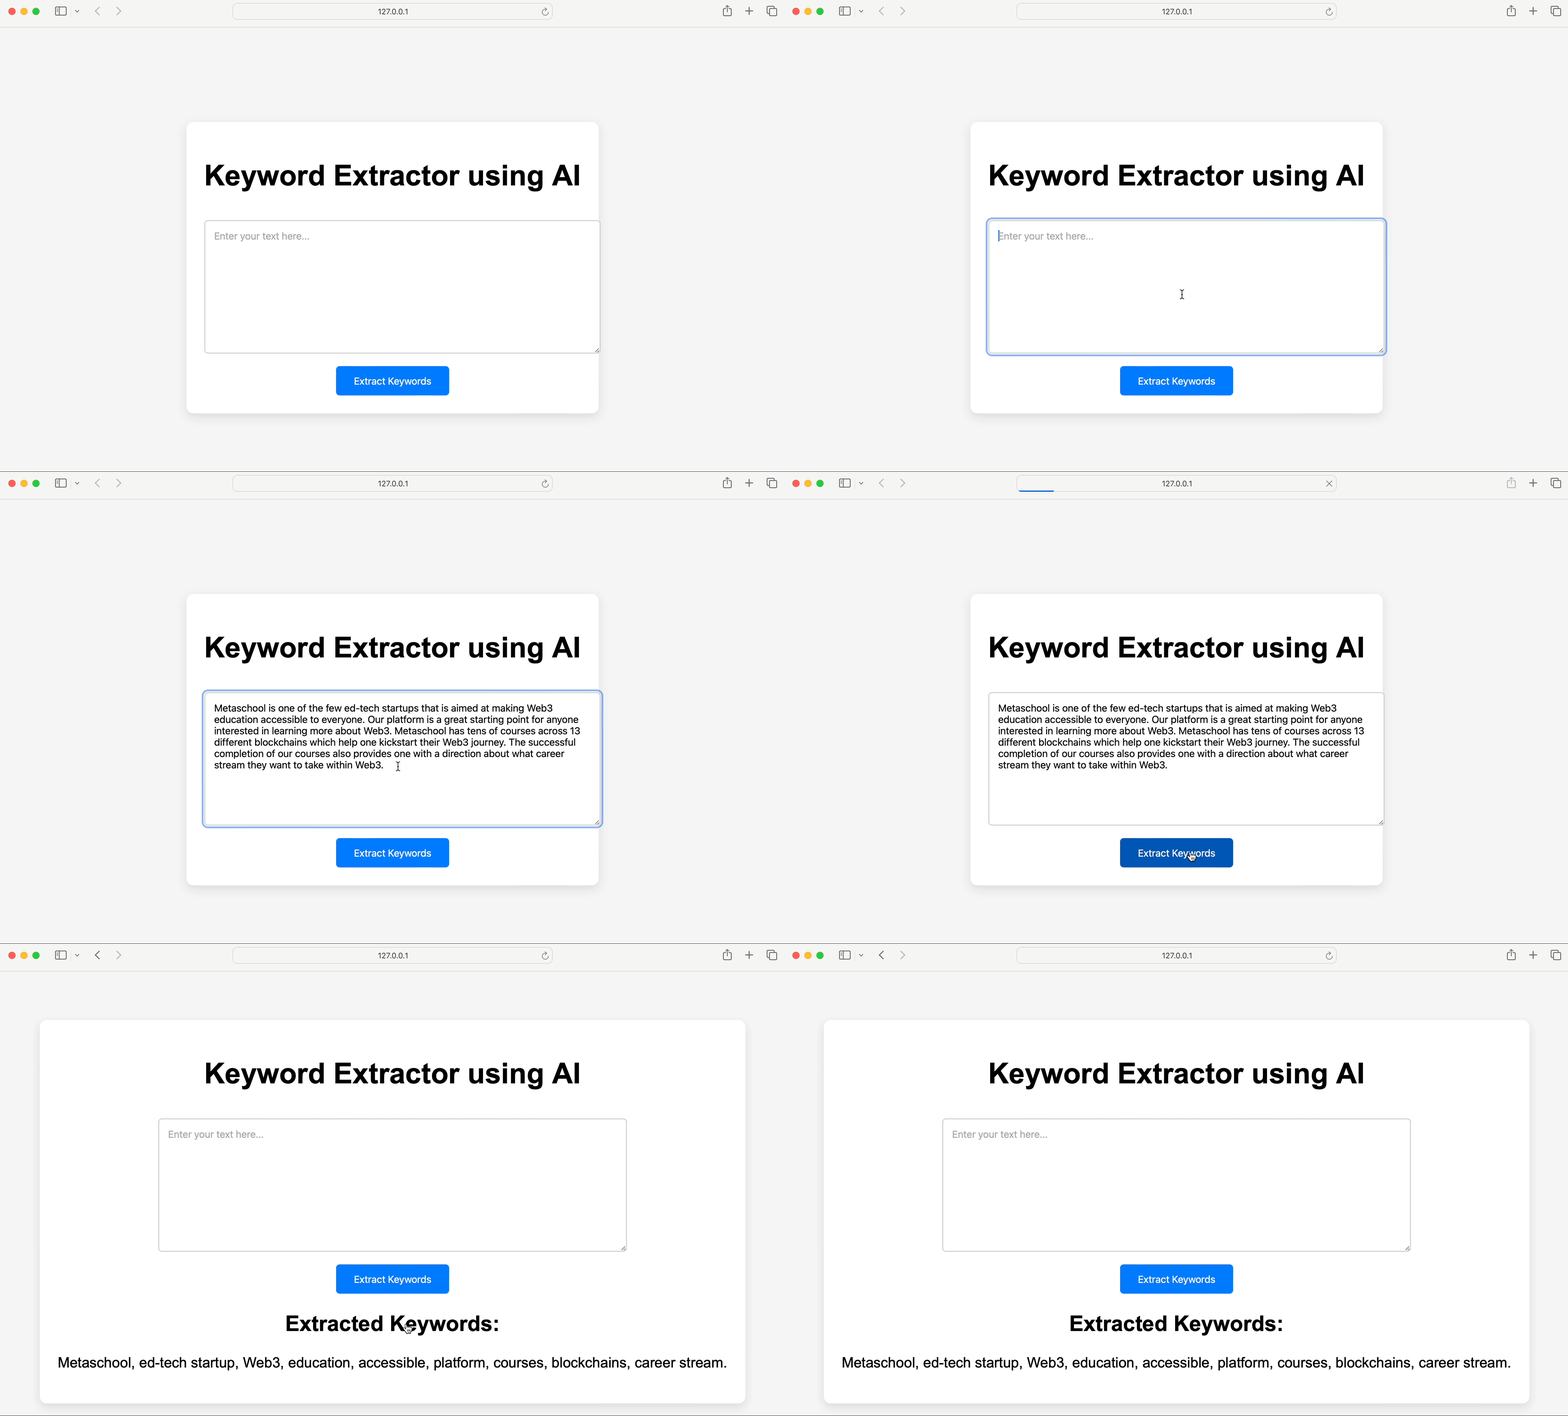
This will launch an interface where users can provide their long text and with a click of a button they will be able to extract keywords out of it. The body tag centers the form to make it centralized, with a light background color. The .container class is used to style the main form container with padding, rounded corners, and adjusting the shadows. The textarea element allows users to enter their text and a submit button with a blue background.
With that, everything is set up, and it’s time to launch the application.
Testing it out
Now for the actual fun—running your app! In the project directory run the following command to launch our keyword extractor application:
python app.py
Open your browser and head over to http://127.0.0.1:5000/. You should see your simple web app up and running. Input some text, hit the button, and—boom—OpenAI pulls out the keywords like magic.

Note: If you ran into any bugs during the production, don’t panic! Debugging is a part of development journey, and it will make you better as a builder.💪
Congratulations! You’ve built an efficient keyword extractor tool powered by OpenAI’s model. Here, we took a simple idea and turned it into a functional web app. Whether you’re extracting keywords for SEO, summarizing articles, or looking to do some text analysis, you now have your very own keyword extractor tool.
But it’s the beginning of your journey. You just laid the foundation and now you could take it in any sort of exciting direction.
I hope this collective journey be informative and super fun for you. Now you’re all good to extract these keywords as a pro! Keep coding! 😄
Explore more on Metaschool
If you found building an AI-powered code review assistant helpful, you might be interested in exploring more hands-on projects to expand your skills. Check out our other courses on Metaschool:
- Build an AI Dating Coach Using NextJS and OpenAI: Ever thought about creating an app that provides personalized dating advice? This course guides you through building a dating coach app that uses OpenAI’s API and NextJS to deliver insightful advice to users.
- Build a YeBot with OpenAI API: Learn how to create a sophisticated chatbot using OpenAI’s powerful API, perfect for enhancing your understanding of AI-driven applications.
- Build a Code Translator Using NextJS and OpenAI API: Dive into building a code translation tool using NextJS and OpenAI, a great way to apply your knowledge practically and innovatively.
Explore these courses and more to continue your journey in AI on the Metaschool platform!
FAQs
Can I customize the number of keywords extracted?
Yes you can modify the OpenAI prompt in a file
Currently, the app extracts a standard set of keywords, but you can easily modify the OpenAI prompt to adjust the number of keywords or even ask for phrases. For example, you could modify the prompt to “Extract 5 keywords” for more control.
Is this app free to use?
The app uses OpenAI’s API, which may have usage limits or costs depending on your OpenAI plan. While small usage may be free, for larger-scale applications, you may need to upgrade your API usage plan.
How can I deploy this app so others can use it?
You can deploy this app on hosting services like Heroku, AWS, or DigitalOcean. Flask apps are relatively easy to deploy, and with the right configuration, your keyword extractor can be available online for anyone to use.
